This Blog is about building model fishing ships and everything what has to do with it. Most builds are done by me but when not I will mention. I hope you will have fun reading and watching my blog and if you like please leave a comment.
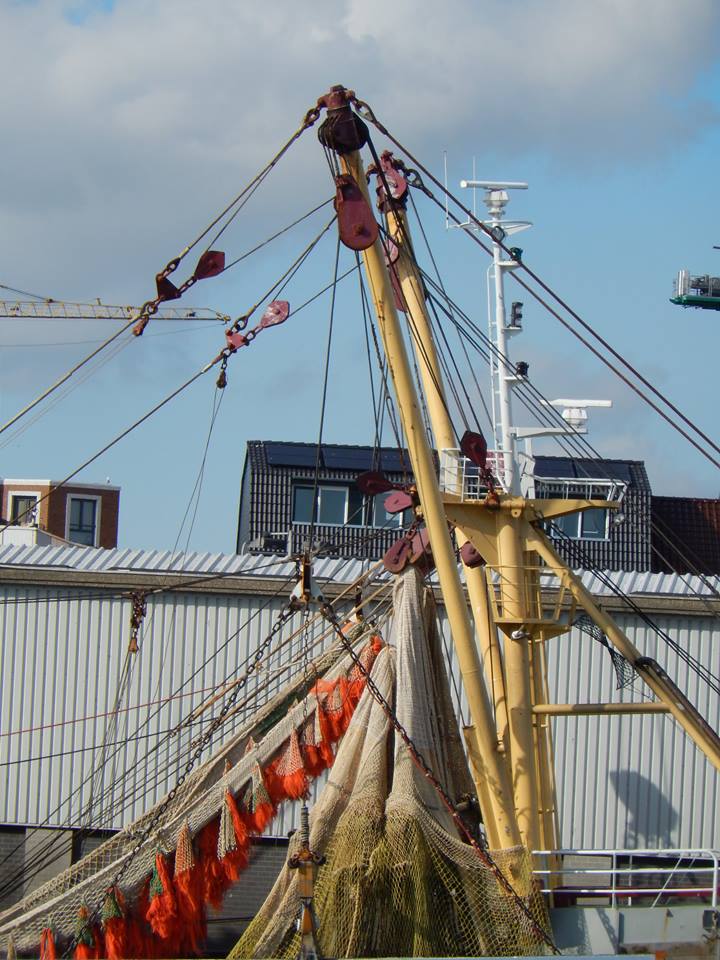
The frontmast needed some stairs in scale 1/75 but it's not a ordinary stairs since there is an angle in it. So I couldn't use prefab stairs and had to fabricate them myself. I used brass rod and and I soldered it together.
I
finished the keels and the bowthrusters. These thruster makes it
possible to manoeuvre without using the rudder and without making
forward motion. The props will be added later when the hulls are
painted.
For the trawler I needed a propellor and usually I buy these at the
hobbystore but this time I couldnt find what I was looking for and the
props I found were expensive (around 15-20 euro's). I need three so it
would be a very big gap in my budget.
I looked on
the internet for pictures of propellors but there were mostly beautiful
new and shiny and thats not the way I wanted them.
This is an example of a new propellor right from the factory
And this is the way I like to build and paint them. This ship has fished for two years now before she went in the drydock
I
started with strips of styreen which I heated and shaped in the right
shape. After that I made the shaft with the cuts for the blades
After some glueing I used some Milliput to make a smooth curve from the shaft to the blade. So it looks like a casted one
Here
the first paintwork. I used an aluminiumcolour with pigements to get
the colour Ik wanted. After this I gave the props a protective coat of
varnish
Than
I went on painting with oilpaint. I want to weather one prop like its
in use for years and the other two will get some lighter weathering.
And then the results. I can not capture the right colours in the pictures but I am very content
For the Pelikaan I had to make or buy some nozzles. Buying would be expensive and since the will only be used for static display I wanted to try and make them myselve.
Here some info about the working of a jet nozzle on ships.
The [...] nozzles are designed and manufactured for propellers to give you a
considerable benefit in fuel savings, maximum performance, optimal forward and
reverse thrust, improved speed and reduced noise and vibration. (bergermaritiem)
I went to the secondhandstore and bought some plastic cups which had the right diameter and angle. I marked the cuttinglines and cut the exces material away and with a sheet of sandingpaper on flat surface I sanded both sides nice and traight. The with the Proxxon tool and a sandingbit I shaped the curved sides of the in- and outlet so it would look like a proper nozzle.
After some carefull sanding this is the result. I am pleased with the nozzles and the only cost me 20 eurocents for the three.